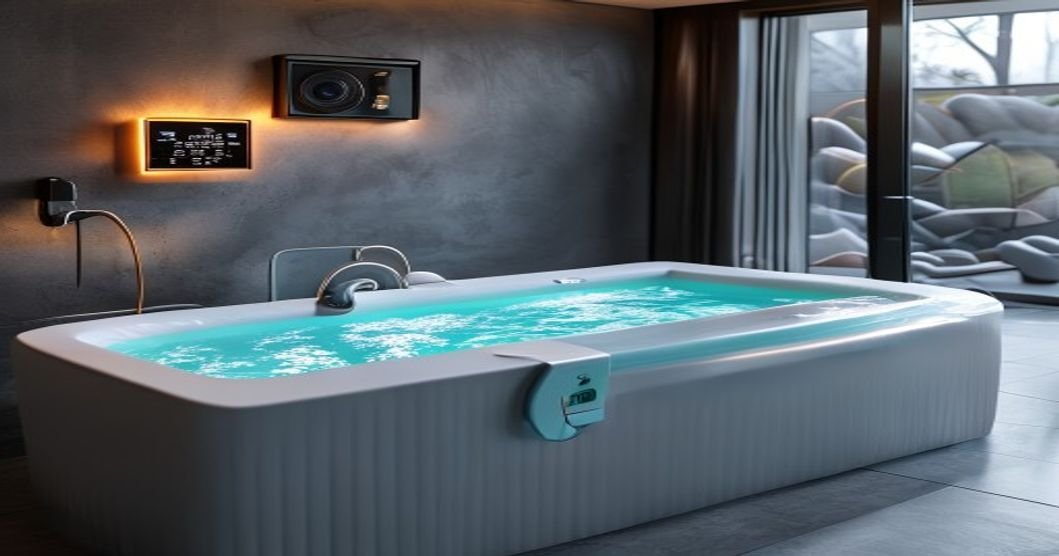
Cold plunge chiller specifications are a mess of marketing numbers, engineering units, and cross-brand inconsistency. “1/3 HP chiller” from one brand cools half the water of “1/3 HP chiller” from another brand. “60-minute recovery time” measured at what starting temp, in what ambient, with what insulation? Nobody tells you.
This guide translates chiller specs into what actually matters: how long it takes to bring your water back to plunge temperature after a session, and how much electricity that costs.
Curated Cold Plunge Kit on Amazon
All our cold plunge picks – tub, chiller, water treatment, thermometer, and exit safety – collected in a single Amazon Idea List. Everything you need for a proper home cold plunge practice.
The 5 numbers that actually matter
- Cooling capacity (BTU/hr or watts): the honest measure. Ignore HP – it varies by chiller design. BTU/hr directly translates to “how much heat can this remove per hour.”
- Tub volume (gallons): larger tub = more water = more energy to cool. Small tubs (60 gal) recover fast even with weak chillers. Large tubs (150+ gal) need serious chillers.
- Starting temp vs target temp: going from 70F to 40F takes 4x longer than going from 50F to 40F. Marketing claims almost always measure the easy delta.
- Ambient air temp: chiller efficiency drops sharply above 80F room temp. Basement install (60-70F) gives you 20% better recovery times than garage in summer.
- Insulation R-value: the tub itself and the cover. Poor insulation = chiller runs constantly. Good insulation = chiller cycles briefly.
Real recovery times by chiller size
Assuming 80-gallon tub, well-insulated with cover, ambient 68F, starting water 60F, target 40F:
- 1/6 HP (2,400 BTU/hr): 4-6 hours to reach target. Barely holds temp during a session.
- 1/3 HP (4,000 BTU/hr): 2-3 hours to reach target. Good for daily solo use with cover on between sessions.
- 1/2 HP (6,000 BTU/hr): 60-90 minutes. This is the “just works” tier for household use.
- 3/4 HP (9,000 BTU/hr): 30-45 minutes. Good for households where multiple people plunge daily.
- 1 HP (12,000 BTU/hr): 20-30 minutes. Overkill for solo use, right for commercial or multi-user setups.
Chillers that ship as standalone units
Standalone chillers connect to any tub via input/output ports. Useful if you have a stock tank, hot tub conversion, or want to upgrade an existing plunge.
Best Budget Standalone Chiller (1/4 HP)
Aquarium and hydroponic chillers in the 1/4-1/3 HP range work fine for cold plunge conversion. Under $700, needs external pump. Best for tubs under 80 gallons.
Best Value Standalone (1/2 HP)
The most-recommended standalone tier. 1/2 HP with LED display, temperature control, and often includes a pump. Works with tubs up to 120 gallons.
Best Premium Standalone (3/4 to 1 HP)
Commercial-grade chillers with faster recovery, quieter operation, and 5+ year warranties, typically $1,500-$2,500. Overkill for solo daily use but worth it if multiple people plunge or if you want fast turnaround.
Best Insulated Cover (Chiller Runtime Reducer)
A good insulated cover cuts your chiller runtime by 40-60%. This is the single most valuable accessory. Custom-fit covers exist for common tub sizes.
Best Water Filter Add-On
20-micron sediment filter, then a 5-micron polishing filter. Keeps water clear between water changes. Extends time between drain-and-refills from every 2 weeks to every 2 months.
Best Ozone Sanitizer Add-On
For water sanitization without chlorine or bromine (which damage skin). A $150-$400 add-on, plugs inline with your chiller. Extends water life significantly.
How much does a chiller cost to run?
Rough electric cost math for daily use, at $0.15/kWh:
- 1/3 HP running 4 hrs/day (poor insulation): ~$10/month
- 1/3 HP running 1.5 hrs/day (good insulation + cover): ~$4/month
- 1/2 HP running 2 hrs/day: ~$7/month
- 1 HP running 1 hr/day: ~$7/month
The insulation matters more than the chiller size for monthly cost.
The honest bottom line
For most home users with an 80-100 gallon tub, a 1/2 HP chiller with good insulation and cover is the pragmatic choice. Fast enough recovery for daily use, cheap enough to run monthly.
Don’t overspend on 1 HP if you’re the only one using it. Do spend on a good insulated cover regardless of chiller size.
Marketing claims are unreliable. When comparing chillers, ask for BTU/hr (or watts) – that’s the honest number.
Comparison: chiller tiers at a glance
| Tier | Price band | Best for | Recovery time (80-gal, well-insulated) |
|---|---|---|---|
| Budget standalone (1/4 HP) | Under $700 | Tubs under 80 gallons, occasional use | 3-5 hours |
| Value standalone (1/2 HP) | $700 – $1,200 | Most households, daily solo use | 60-90 minutes |
| Premium standalone (3/4-1 HP) | $1,500 – $2,500 | Multi-user households, fast turnaround | 20-45 minutes |
| Insulated cover | $80 – $200 | Every tier, cuts runtime 40-60% | n/a – reduces all of the above |
| Ozone sanitizer add-on | $150 – $400 | Daily users wanting fewer water changes | n/a – water treatment, not cooling |
Common mistakes when choosing a chiller
- Chasing HP instead of BTU/hr. As covered above, HP ratings aren’t standardized across brands. Two “1/2 HP” chillers can have meaningfully different cooling capacity. Always compare BTU/hr or watts when you can find the spec – it’s the only number that’s actually comparable across manufacturers.
- Buying more chiller than the insulation can use. A 1 HP chiller on a poorly insulated, coverless tub still loses heat constantly between cycles – you’re paying for cooling power that leaks out as fast as it goes in. Fix insulation first, then size the chiller.
- Ignoring where the chiller will actually sit. Manufacturers test recovery times under favorable lab conditions. A chiller in a garage that hits 90°F+ in summer will run meaningfully slower and less efficiently than the same unit in a 68°F basement – budget in a real-world margin, not the spec-sheet number.
- Skipping the warranty comparison. Chillers are the part of a cold plunge system most likely to fail within the first two years, since they’re a compressor running near-daily. A cheaper unit with a 1-year warranty can cost more over time than a pricier one backed for 3-5 years.
Noise and placement considerations
Chillers run a refrigeration compressor, and that means audible operation – typically in the 45-55 decibel range at close range, comparable to a running refrigerator or window air conditioner. That’s not disruptive in a garage or basement but is worth considering if you’re installing near a bedroom or a shared living space. Placement also affects performance, not just noise: chillers need the full clearance noted above on all sides for airflow, should sit level to avoid compressor strain, and do best out of direct sun if installed outdoors. An outdoor chiller without shade in a hot climate will run longer cycles and wear faster than the identical unit installed under cover.
FAQ
Q: Do larger chillers need a dedicated electrical circuit?
Most 1/4 to 1/2 HP standalone chillers run fine on a standard household outlet. Units at 3/4 HP and above draw enough current that a dedicated circuit is worth confirming with an electrician, particularly if you’re already running other equipment (pumps, lighting) on the same circuit.
Q: Will a chiller run constantly in a hot garage during summer?
It can, especially with a poorly insulated tub or no cover. If your install location regularly exceeds 85°F, size up one tier from what this guide’s chart suggests, or plan on the chiller cycling more than the “recovery time” numbers imply.
Q: Is a louder chiller a sign it’s working harder than it should?
Not necessarily during normal operation – some noise is expected. But a chiller that gets noticeably louder over time, or that runs continuously without ever cycling off, is a sign of a struggling unit – check insulation and placement first before assuming the chiller itself is failing.
Q: Can I use a chiller built for aquariums or hydroponics for a cold plunge?
Yes, and it’s a common budget-tier approach – many standalone chillers marketed for cold plunges are the same hardware sold for aquarium and hydroponic cooling, just rebranded. Check the BTU/hr rating against your tub volume the same way you would a purpose-built unit.
Q: How much does insulation actually save versus just buying a bigger chiller?
Based on the runtime math above, a good insulated cover typically saves more on monthly electricity than upgrading one full chiller tier costs in upfront price – and it helps every tier of chiller, not just the one you currently own. It’s the better first dollar spent in almost every case.
Reading a listing’s BTU claim skeptically
Not every listing that publishes a BTU/hr number is publishing a trustworthy one – some brands report peak capacity under ideal lab conditions rather than sustained real-world output. A rough sanity check: divide the claimed BTU/hr by the tub’s gallon count. For an 80-gallon tub, anything under roughly 50 BTU/hr per gallon is going to struggle to hit the recovery times in the chart above regardless of what the headline number says. If a listing’s claimed recovery time seems dramatically faster than a competitor with a similar BTU/hr rating, check whether they’re measuring from a smaller starting temperature delta – that’s the most common way specs get inflated without technically lying.
Q: Does a higher-HP chiller use proportionally more electricity?
Not proportionally – a larger chiller draws more power per hour of runtime, but because it reaches target temperature faster, it often runs fewer total hours per day. That’s why the monthly cost table above shows a 1 HP chiller landing close to a 1/2 HP chiller in real dollars despite pulling more power – it just doesn’t run as long.
Shop the Amazon Storefront
Every product we recommend for your home recovery setup – saunas, cold plunges, red light, and more – curated in one Amazon Storefront.
Try Audible free for 30 days – great for meditation, sleep, and recovery-focused audiobooks
As an Amazon Associate and Amazon Influencer, we earn from qualifying purchases at no extra cost to you.

Leave a Reply